

1. Overview
When dealing with multimedia files, we may encounter issues such as specific file formats not being compatible with various devices. For instance, AVI files are somewhat outdated and may not be compatible with most modern devices and media players. We can resolve this issue by converting the files from one format to another.
In this tutorial, we’ll discuss converting an AVI file to MKV or MP4. We’ll use the FFmpeg command line tool, Handbrake, VLC, and Avidemux.
2. Using FFmpeg
FFmpeg is a command-line utility used to manage multimedia data and enables us to convert, stream, and record video and audio. Additionally, it supports multiple video, audio, and container formats.
First, we need to install it. On Ubuntu/Debian-based distributions, we use apt:
$ sudo apt install ffmpegFor Fedora, we can use the dnf package manager:
$ sudo dnf install ffmpegFinally, on Arch Linux, we’ll run the pacman command:
$ sudo pacman -S ffmpegTo begin, let’s convert the AVI file to MKV:
$ ffmpeg -i surfing.avi -c:v copy -c:a copy surfing.mkvLet’s understand the above command:
- -i surfing.avi – specifies the input file as surfing.avi
- -c:v copy – used to copy the video stream from the input file to the output file without re-encoding it
- -c:a copy – instructs ffmpeg to copy the audio stream from the input file to the output file without re-encoding it
- surfing.mkv – specifies the name of the output file
In the example above, we convert the surfing.avi file to an MKV format named surfing.mkv. To explain, we convert the container format of surfing.avi from AVI to MKV without re-encoding the audio and video streams. This ensures the conversion process is fast and the file retains its original quality.
Next, let’s convert the AVI file to MP4:
$ ffmpeg -i surfing.avi -c:v copy -c:a copy surfing.mp4Above, we convert the surfing.avi file to surfing.mp4 — resulting in an MP4 format while keeping the original video and audio codecs.
3. Using Handbrake
Handbrake is a user-friendly video transcoder that allows us to convert files from one format to another. It also supports multiple video codecs and containers.
On Ubuntu/Debian distributions we’ll install it using apt:
$ sudo apt install handbrakeNext, on Fedora, we use dnf:
$ sudo dnf install handbrakeLastly, on Arch Linux, we’ll install it using pacman:
$ sudo pacman -S handbrakeNow, let’s go ahead and convert the AVI file to MKV or MP4.
To begin, we’ll open Handbrake from the applications menu:
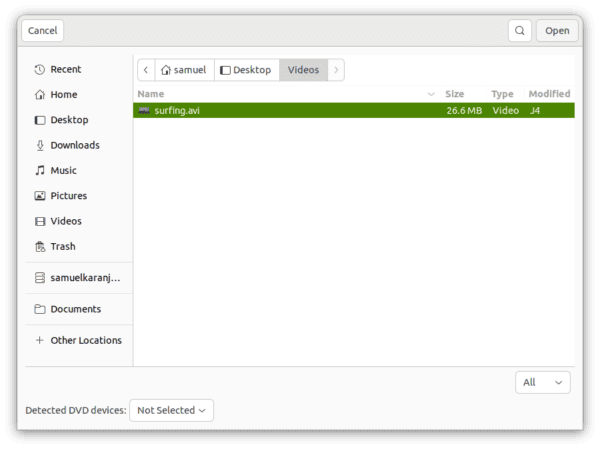
Next, let’s click on Open Source in the top toolbar and navigate to the location of the AVI file. We’ll select the file we want to convert and click the Open button to load it into Handbrake:
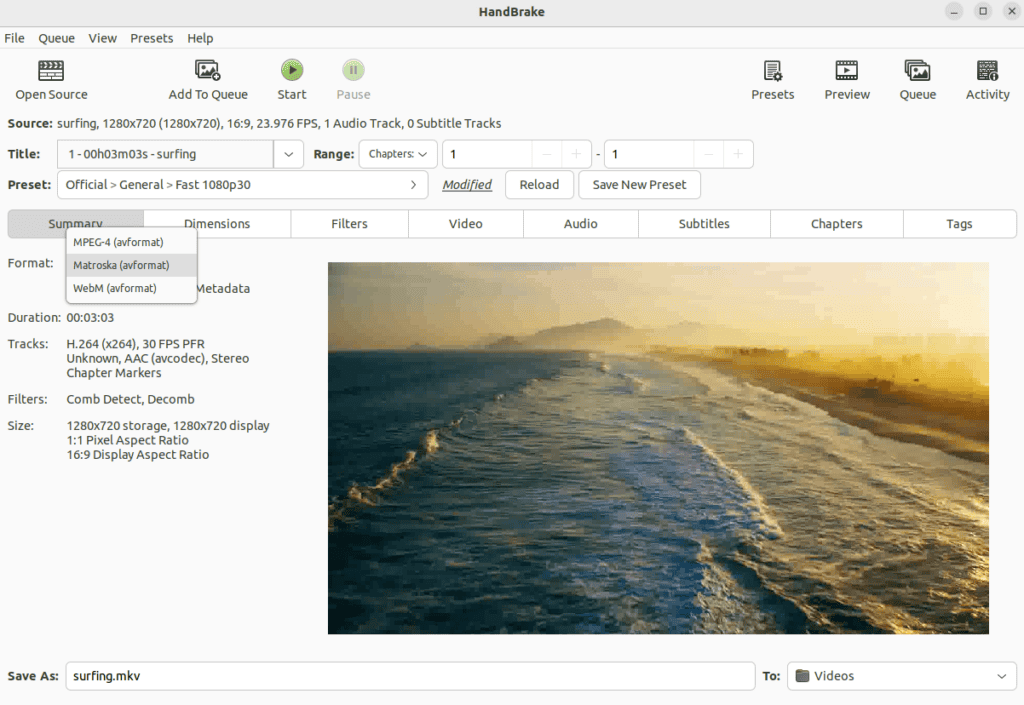
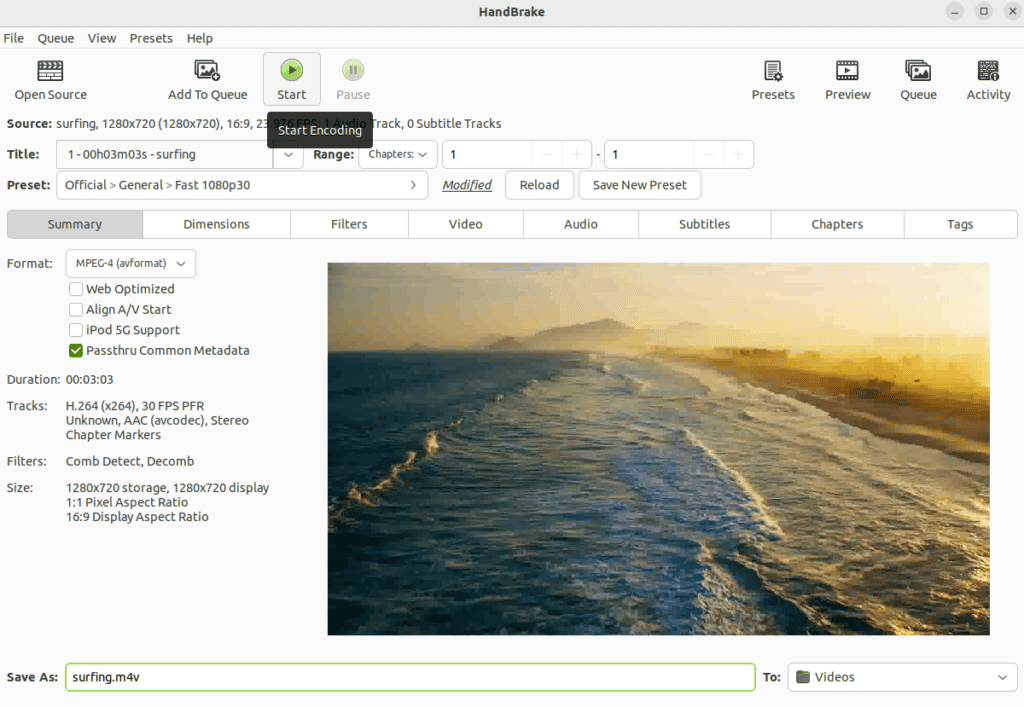
Once the file loads, let’s select the output format by clicking the Format dropdown menu in the Summary tab. If we want to convert the file to MKV format, we select Matroska (avformat), while to convert it to MP4 format, we select MPEG-4 (avformat):
Next, let’s choose the location where we want to save the converted file. We’ll click the dropdown menu next to the To field at the bottom right corner and select the desired destination directory:
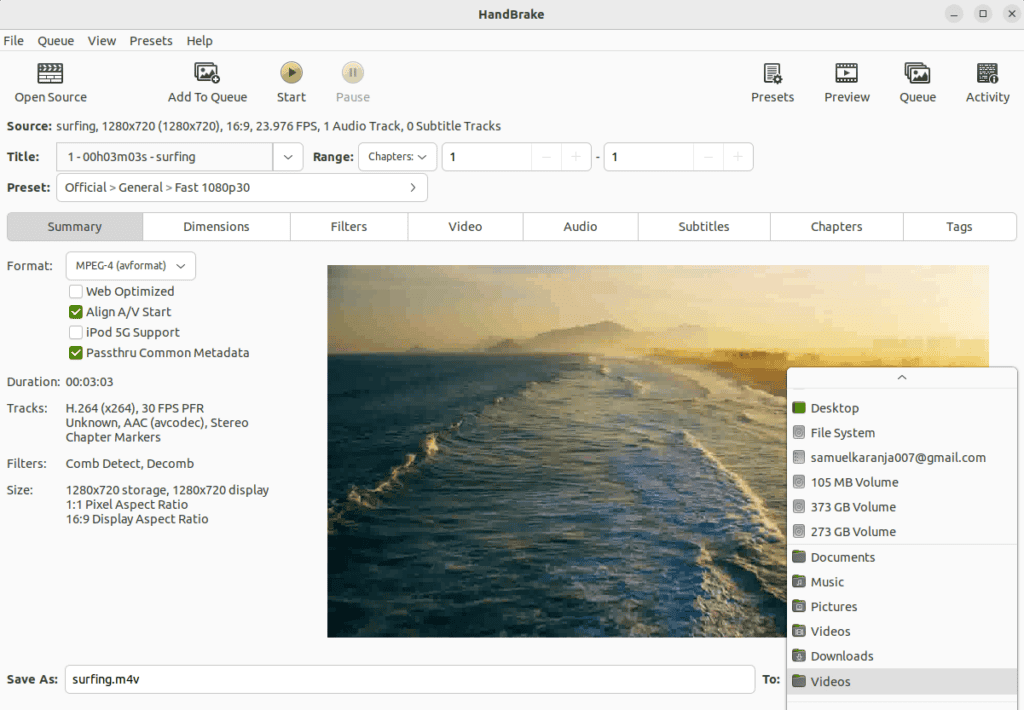
Finally, let’s start the conversion process by clicking the Start button in the top toolbar:
We’ll receive a notification once the conversion process is complete.
On the other hand, we can use HandBrakeCLI in the command line to convert the AVI file to MKV or MP4. We’ll start by converting the AVI file to MKV:
$ HandBrakeCLI -i surfing.avi -o surfing.mkvAbove, we use HandBrakeCLI to convert an AVI file to an MKV file format. Here, -i surfing.avi specifies the input file while -o surfing.mkv specifies the output file name after conversion.
Finally, let’s convert the AVI file to an MP4 format:
$ HandBrakeCLI -i surfing.avi -o surfing.mp4Here, we convert the surfing.avi file to an MP4 file named surfing.mp4.
4. Using VLC
VLC is a free and powerful multimedia player that supports both audio and video formats. In this section, we’ll use it to convert files from one format to another.
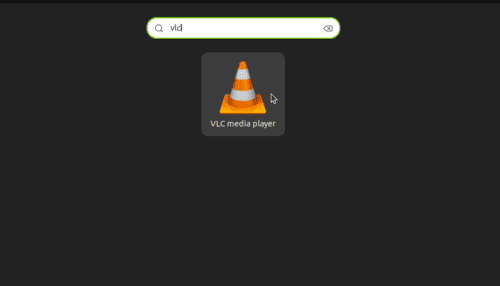
We’ll start by launching it from the application menu:
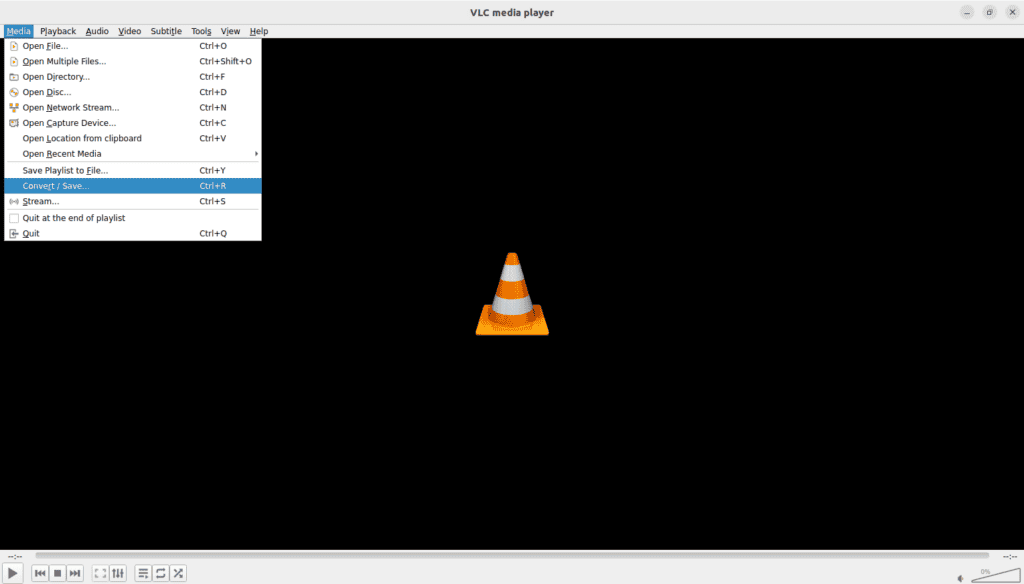
Once VLC opens, we’ll click Media in the top left corner and get a dropdown menu from which we’ll select Convert/Save:
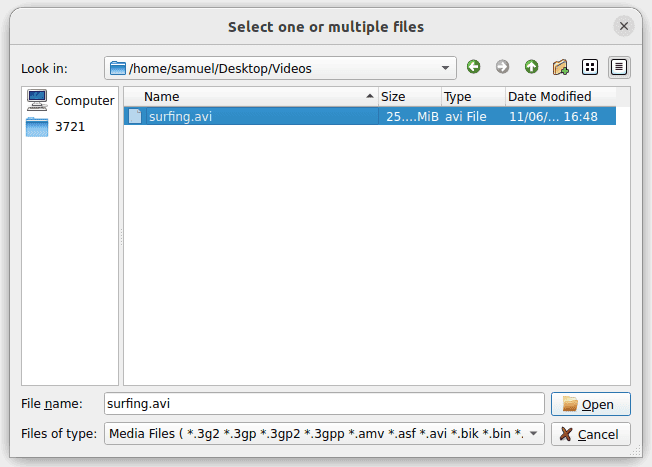
An Open Media window opens. Here, we click on the Add button and navigate to where the AVI file is located. Let’s select the AVI file we want to convert, and then click the open button:
Next, we’ll click on the Convert/Save button, which will open the Convert dialog box:
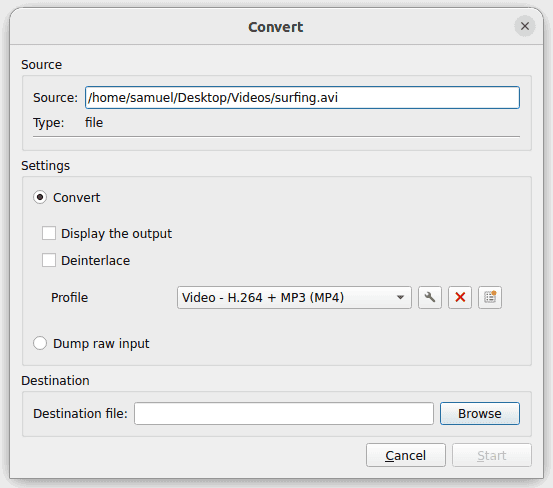
At this point, we’ll select the output format and the destination directory. To select the desired output format, we’ll click the dropdown menu next to Profile and select Video – H.264 + MP3 (MP4) to convert the file to MP4. Next, we’ll click the Browse button next to the Destination file field to select where we want to save the converted file. We’ll then enter the name of the output file and click the Save button:
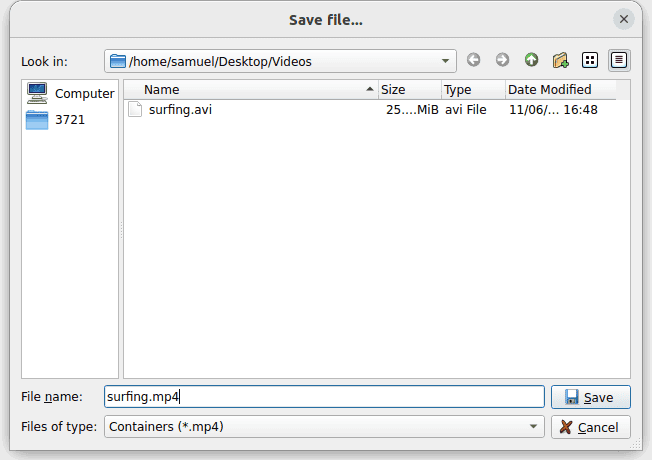
Here, we selected Videos as the destination directory and surfing.mp4 as the output file name. To start the conversion process, we’ll click the Start button:

We’ll receive a notification when the conversion process finishes.
5. Using Avidemux
Avidemux is a video editing tool that supports multiple video formats and allows us to convert files from one format to another.
Let’s get started by installing it. On Ubuntu/Debian-based distributions, we’ll run apt:
$ sudo apt install avidemux-qt avidemux-jobs-qtOn Fedora, we use dnf:
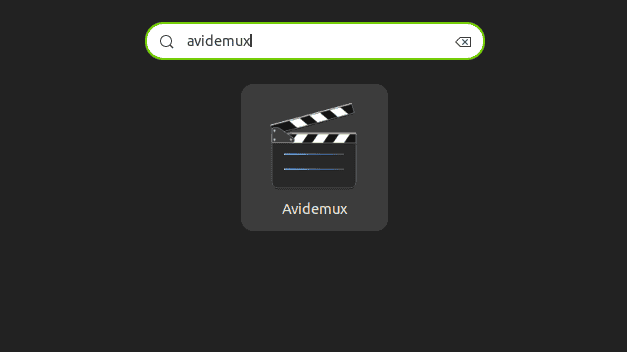
$ sudo dnf install avidemuxNext, we’ll launch it from the applications menu:
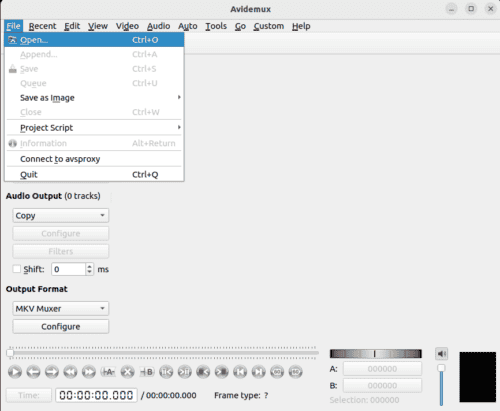
Once it opens, let’s click the File menu in the top left corner and select Open from the dropdown menu:
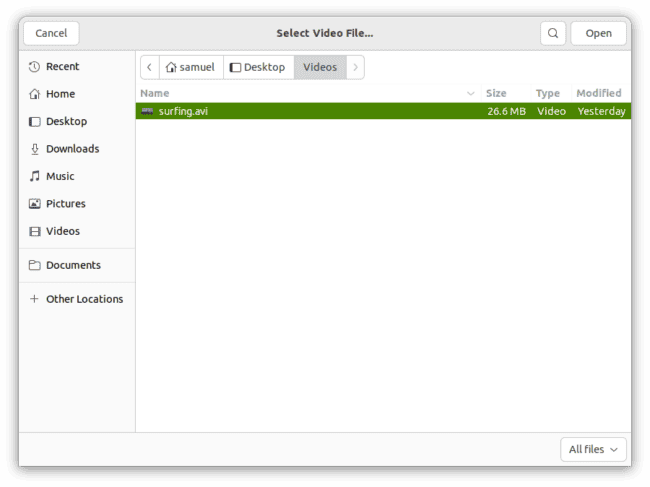
We’ll navigate to where the file we want to convert is located and select it. Then, we’ll click the Open button to upload the file into Avidemux:
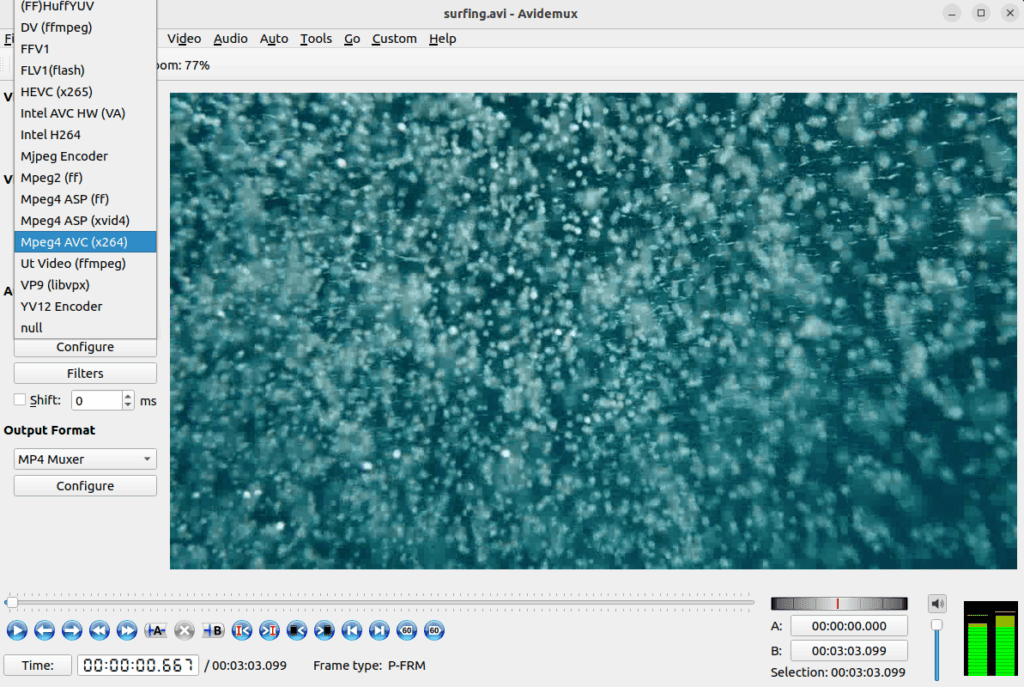
At this point, we’ve uploaded the file to Avidemux. Before we begin the conversion process, we need to choose the codecs for the video and audio streams. To select the video stream codec, let’s click on the Video Output dropdown menu. Here, we’ll choose the Mpeg4 AVC (x264) codec, since it offers good quality and compression:
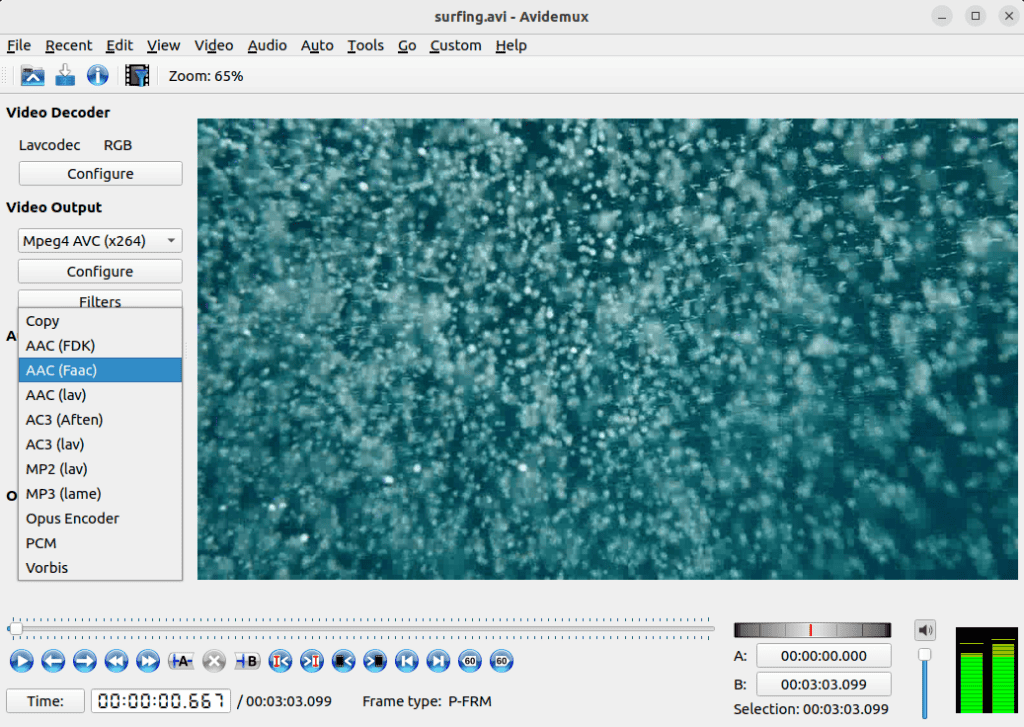
Next, let’s click the Audio output dropdown menu to select the audio stream codec. We’ll choose AAC (Faac) since it offers better sound quality:
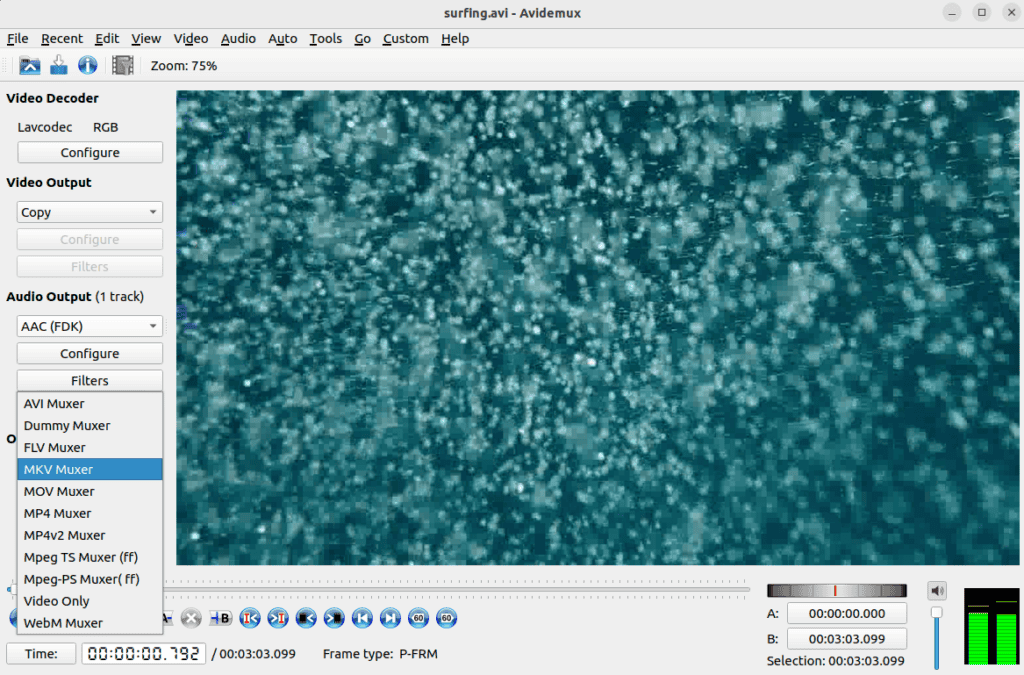
After choosing the video and audio codecs, we’ll select the desired output format by clicking on the Output Format dropdown menu. To convert the file to MKV or MP4, we choose either the MKV Muxer or MP4 Muxer:
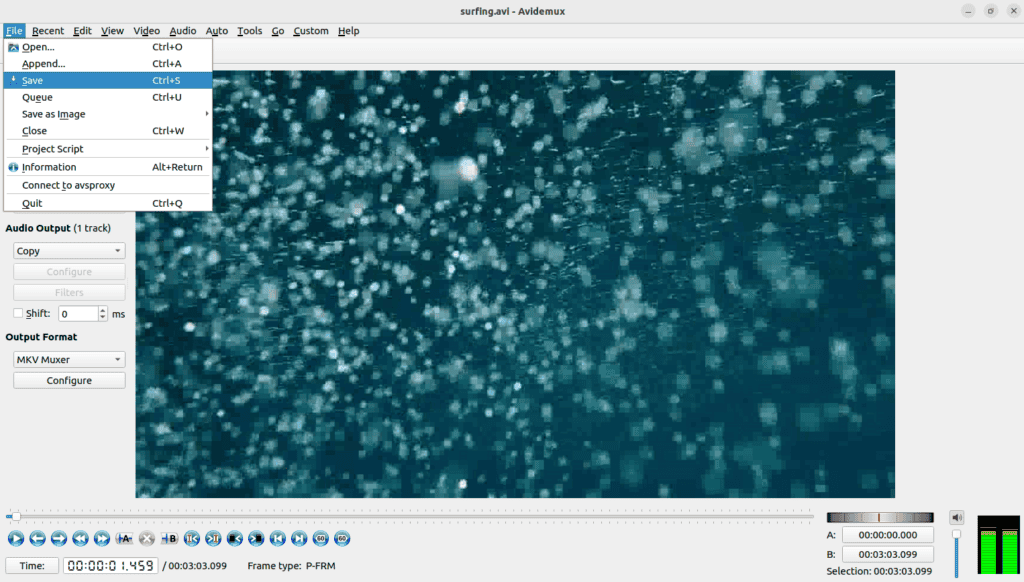
Once we select the output format, we’ll click the File menu at the top left corner and select Save:
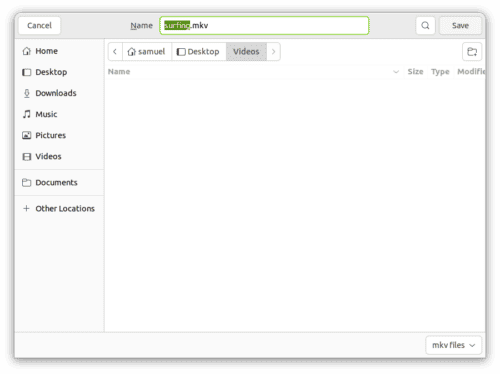
Let’s navigate to a location on our system where we want to save the converted file and click the Save button to start the conversion process:
We’ll get a notification when the conversion process is complete.
6. Conclusion
In this article, we discussed converting an AVI file to MKV or MP4. To achieve this, we used the FFmpeg command-line tool, Handbrake, VLC, and Avidemux. Any of these tools can meet most of our video conversion needs, and the choice of which tool to use depends on our preferences and the project’s requirements.