1. Overview
In this tutorial, we’ll explore using H2 with Spring Boot. Just like other databases, there’s full intrinsic support for it in the Spring Boot ecosystem.
A quick, practical intro to integrating Spring Boot and Hibernate/JPA.
A quick review of how to configure some of the more popular in-memory databases for a Java application.
2. Dependencies
Let’s begin with the h2 and spring-boot-starter-data-jpa dependencies:
<dependency>
    <groupId>org.springframework.boot</groupId>
    <artifactId>spring-boot-starter-data-jpa</artifactId>
</dependency>
<dependency>
    <groupId>com.h2database</groupId>
    <artifactId>h2</artifactId>
    <scope>runtime</scope>
</dependency>
3. Database Configuration
By default, Spring Boot configures the application to connect to an in-memory store with the username sa and an empty password.
However, we can change those parameters by adding the following properties to the application.properties file:
spring.datasource.url=jdbc:h2:mem:testdb
spring.datasource.driverClassName=org.h2.Driver
spring.datasource.username=sa
spring.datasource.password=password
spring.jpa.database-platform=org.hibernate.dialect.H2Dialect
Alternatively, we can also use YAML for the database configuration of the application by adding the corresponding properties to the application.yaml file:
spring:
  datasource:
    url: jdbc:h2:mem:mydb
    username: sa
    password: password
    driverClassName: org.h2.Driver
  jpa:
    database-platform: org.hibernate.dialect.H2Dialect
By design, the in-memory database is volatile, and results in data loss after application restart.
We can change that behavior by using file-based storage. To do this we need to update the spring.datasource.url property:
spring.datasource.url=jdbc:h2:file:/data/demo
Similarly, In application.yaml, we can add the same property for file-based storage:
spring:
  datasource:
    url: jdbc:h2:file:/data/demo
The database can also operate in other modes.
4. Database Operations
Carrying out CRUD operations with H2 within Spring Boot is the same as with other SQL databases, and our tutorials in the Spring Persistence series do a good job of covering this.
4.1. DataSource Initialization
We can use basic SQL scripts to initialize the database. In order to demonstrate this, let’s add a data.sql file under src/main/resources directory:
INSERT INTO countries (id, name) VALUES (1, 'USA');
INSERT INTO countries (id, name) VALUES (2, 'France');
INSERT INTO countries (id, name) VALUES (3, 'Brazil');
INSERT INTO countries (id, name) VALUES (4, 'Italy');
INSERT INTO countries (id, name) VALUES (5, 'Canada');
Here, the script populates the countries table in our schema with some sample data.
Spring Boot will automatically pick up this file and run it against an embedded in-memory database, such as our configured H2 instance. This is a good way to seed the database for testing or initialization purposes.
We can disable this default behavior by setting the spring.sql.init.mode property to never. Additionally, multiple SQL files can also be configured to load the initial data.
Our article about loading initial data covers this topic in more detail.
4.2. Hibernate and data.sql
By default, the data.sql script executes before Hibernate initialization. This aligns the script-based initialization with other database migration tools such as Flyway and Liquibase. As we’re recreating the schema generated by Hibernate each time, we need to set an additional property:
spring.jpa.defer-datasource-initialization=true
This modifies the default Spring Boot behavior and populates the data after the schema is generated by Hibernate. Furthermore, we can also use a schema.sql script to build upon the Hibernate-generated schema prior to the population with data.sql. However, this mixing of different schema-generation mechanisms is not recommended.
5. Accessing the H2 Console
H2 database has an embedded GUI console for browsing the contents of a database and running SQL queries. By default, the H2 console is not enabled in Spring.
To enable it, we need to add the following property to application.properties:
spring.h2.console.enabled=true
If we’re using YAML configuration, we need to add the property to application.yaml:
spring:
  h2:
    console.enabled: true
Then, after starting the application, we can navigate to http://localhost:8080/h2-console, which will present us with a login page.
On the login page, we’ll supply the same credentials that we used in the application.properties:
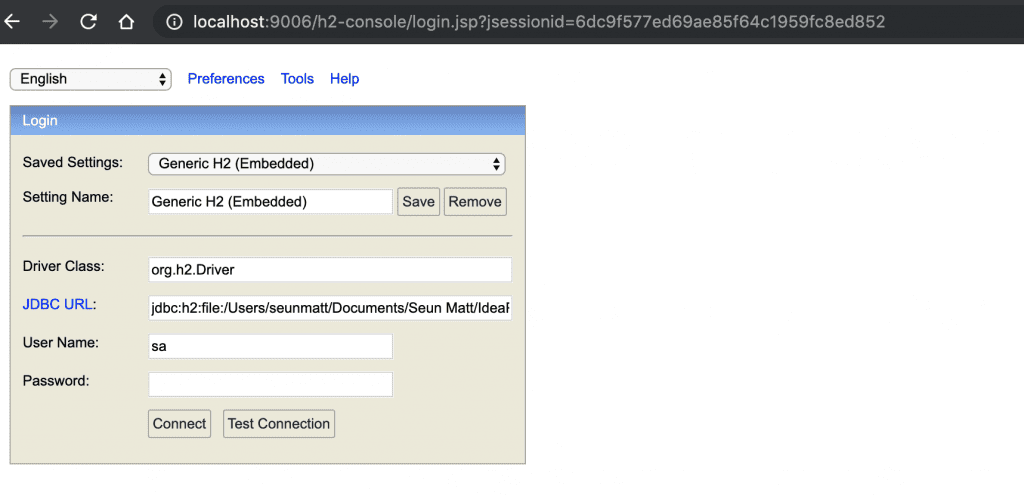
Once we connect, we’ll see a comprehensive webpage that lists all the tables on the left side of the page and a textbox for running SQL queries:
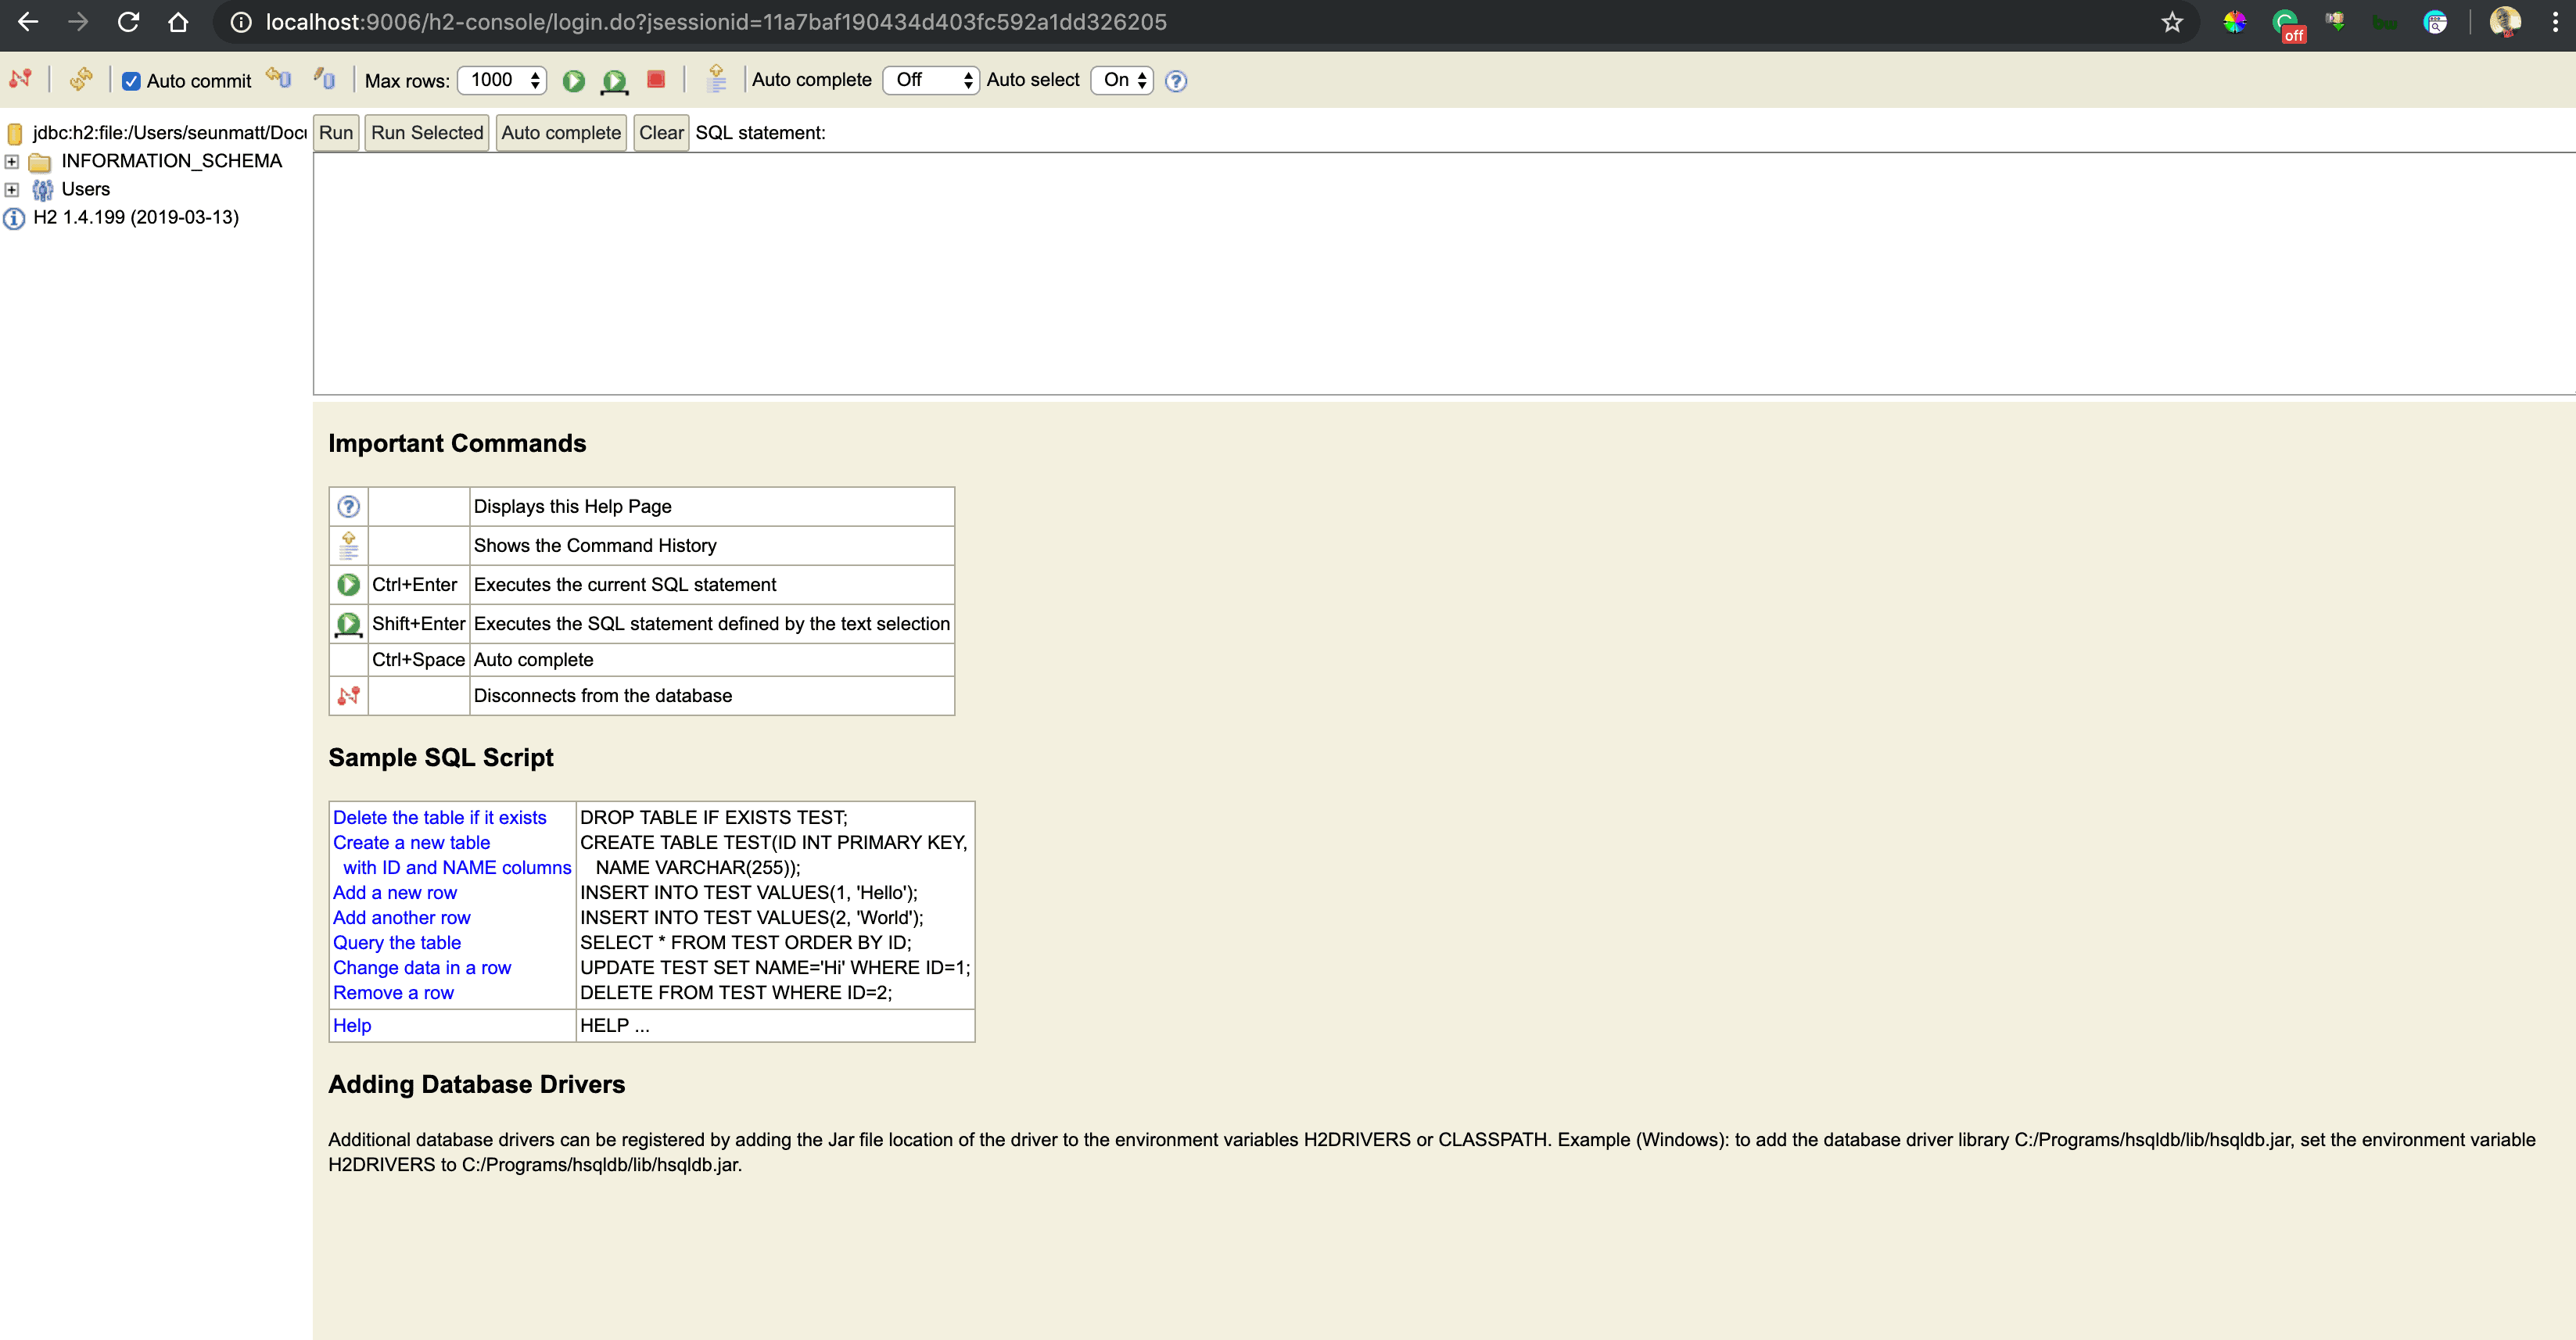
The web console has an auto-complete feature that suggests SQL keywords. The fact that the console is lightweight makes it handy for visually inspecting the database or executing raw SQL directly.
Moreover, we can further configure the console by specifying the following properties in the project’s application.properties with our desired values:
spring.h2.console.path=/h2-console
spring.h2.console.settings.trace=false
spring.h2.console.settings.web-allow-others=false
Likewise, when using YAML configuration, we can add the above properties as:
spring:
  h2:
    console:
      path: /h2-console
      settings.trace: false
      settings.web-allow-others: false
In the snippets above, we set the console path to be /h2-console, which is relative to the address and port of our running application. Therefore, if our app is running at http://localhost:9001, the console will be available at http://localhost:9001/h2-console.
Furthermore, we set spring.h2.console.settings.trace to false to prevent trace output, and we can also disable remote access by setting spring.h2.console.settings.web-allow-others to false.
6. Conclusion
The H2 database is fully compatible with Spring Boot. We’ve seen how to configure it and how to use the H2 console for managing our running database.
The complete source code is available over on GitHub.