1. Overview
Connecting to a database through IntelliJ IDEA involves configuring a data source and selecting the appropriate database driver.
In this tutorial, we’ll learn how to connect to a database through IntelliJ data sources and drivers.
The Database Tools and SQL plugin is usually enabled by default in IntelliJ IDEA Ultimate. However, if we encounter a situation where it’s not enabled, we can follow these steps to ensure it’s enabled:
- First, let’s open IntelliJ IDEA and then navigate to “File” -> “Settings” (on Windows/Linux) or “IntelliJ IDEA” -> “Preferences” (on macOS)
- Once the Settings/Preferences dialog pops up, we can navigate to “Plugins”
- Now we need to look for the “Database Tools and SQL” plugin in the list of installed plugins
- If the “Database Tools and SQL” plugin is not already checked, we’ll need to check it
- If the plugin is not installed, we must click on the “Marketplace” tab and search for “Database Tools and SQL” to install it from there
- After enabling or installing the plugin, we may need to restart IntelliJ IDEA to apply the changes:

3. Configuring the Data Source
Let’s see how to use the database view in IntelliJ IDEA, which allows an easy data source configuration. For demonstration purposes, we’ll use the PostgreSQL database.
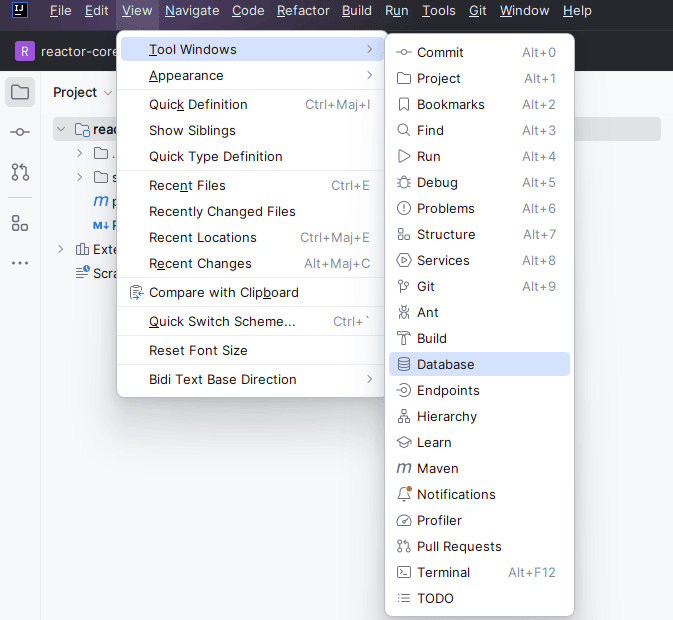
First, let’s open the “Database Tool Window”. To do so, we can simply navigate to the “View” menu and select “Tool Windows” -> “Database” or use the shortcut Alt + 8 (Windows/Linux) or ⌘ + 8 (Mac):
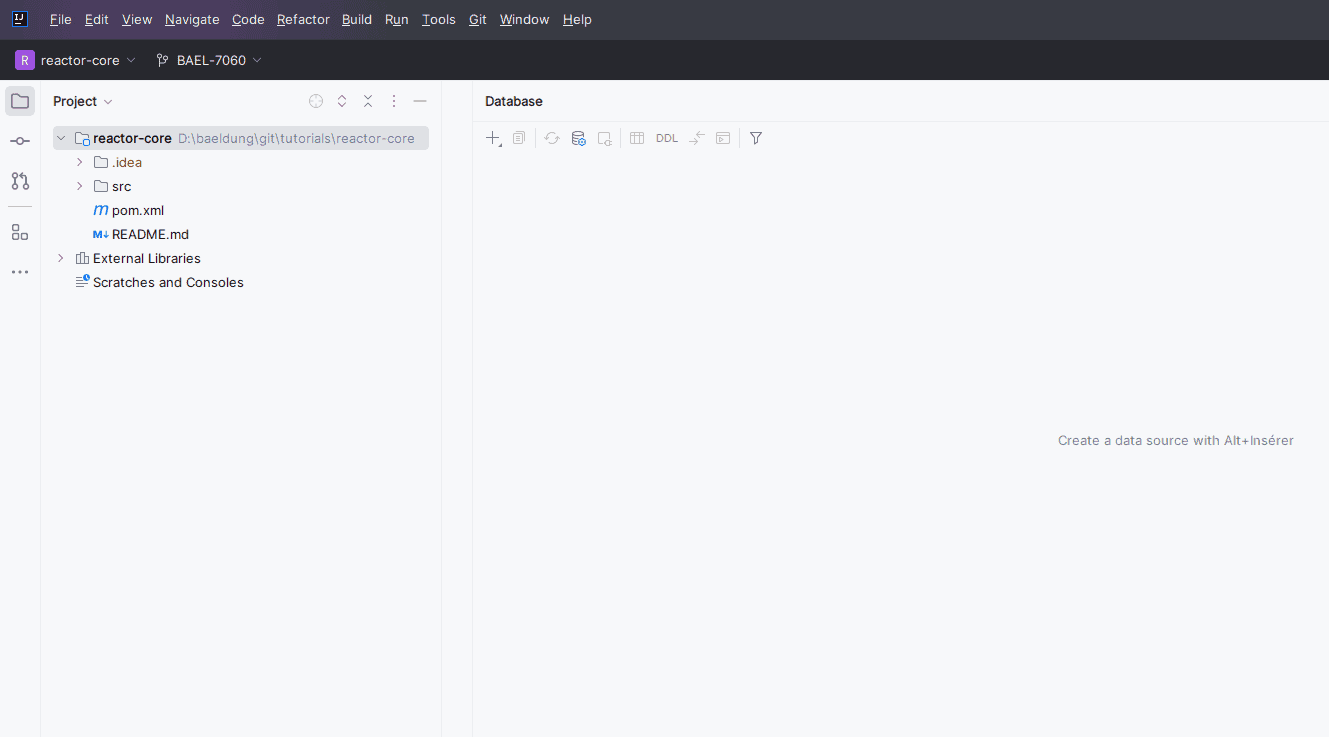
A new Database tool window will open and must be visible on IntelliJ IDEA:
3.2. Add a Data Source
Second, in the Database tool window:
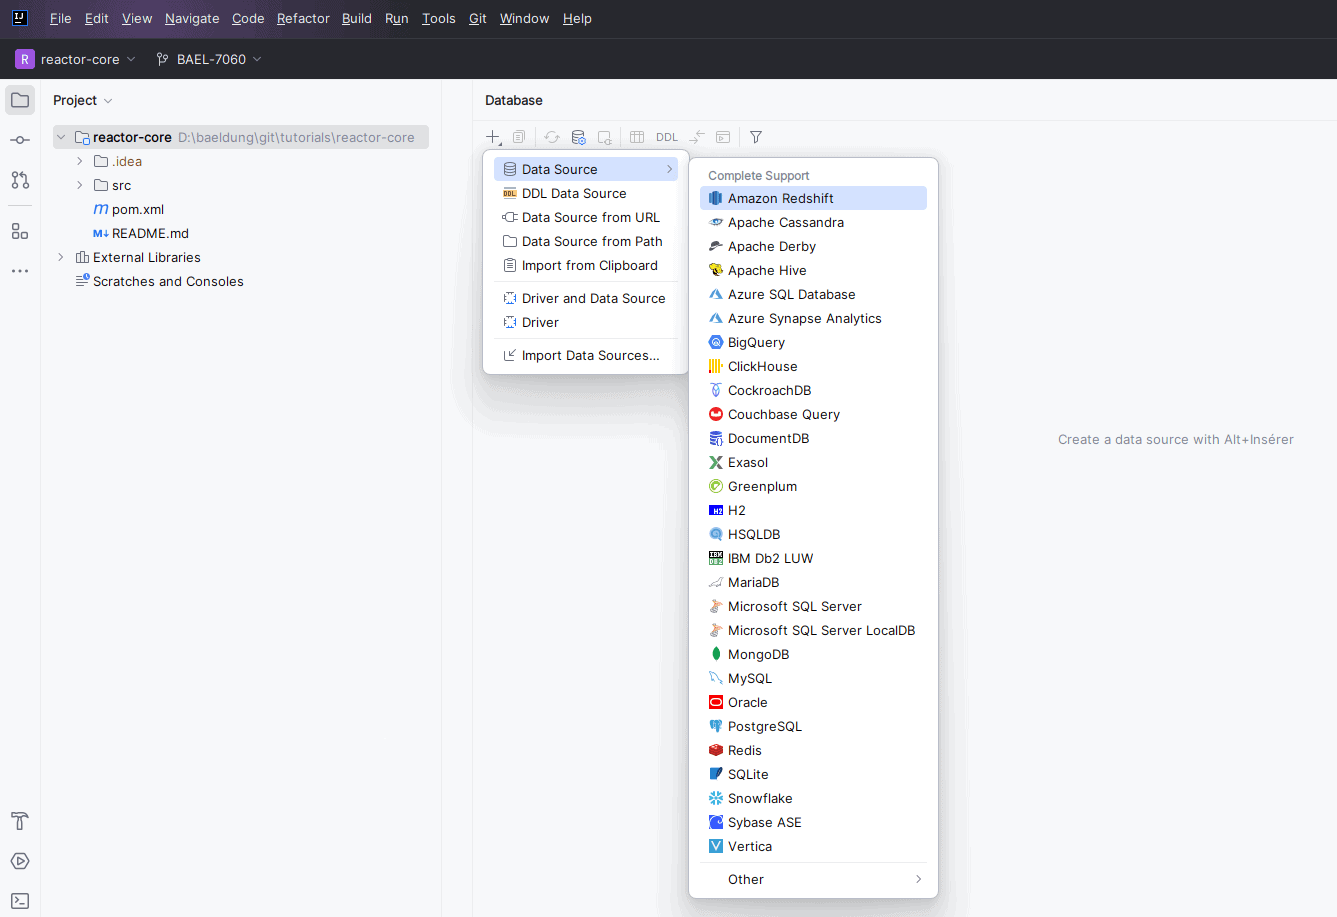
- Let’s click on the “+” icon and then on “Data Source”, or right-click in the window and choose “New” and then “Data Source”
- Next, we can select the appropriate database type from the list (e.g., MySQL, PostgreSQL, Oracle):

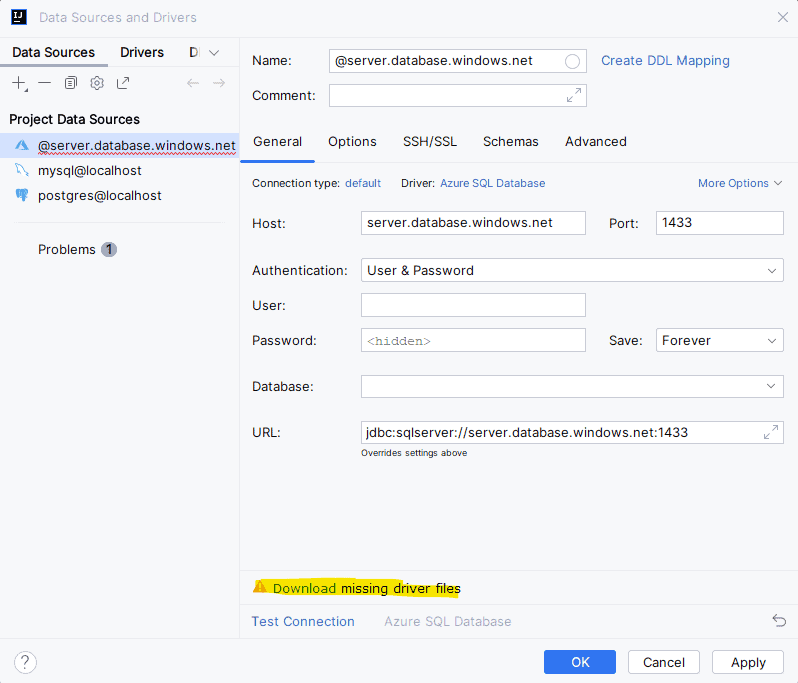
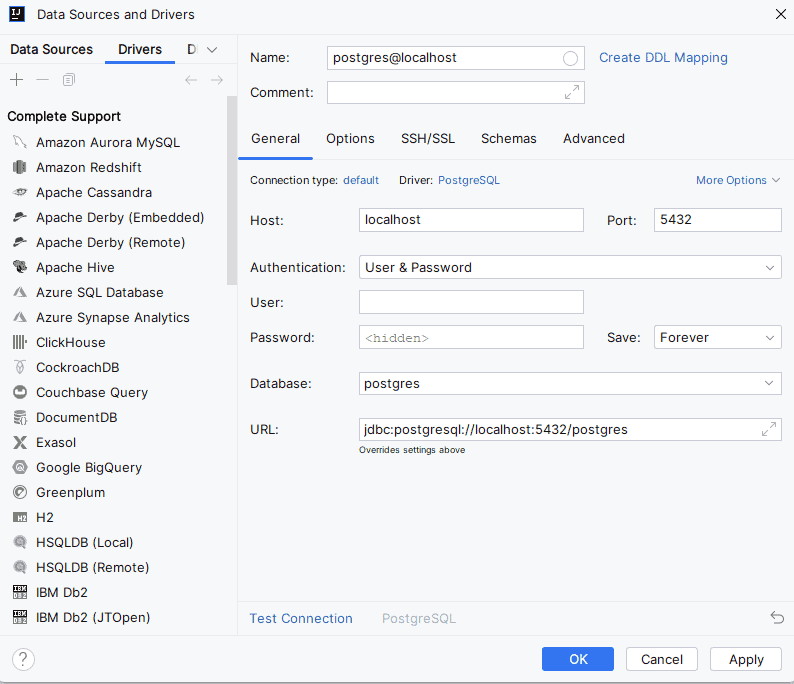
After choosing a database, a new window “Data Sources and Drivers” pops up. We can now configure the connection details for our database:
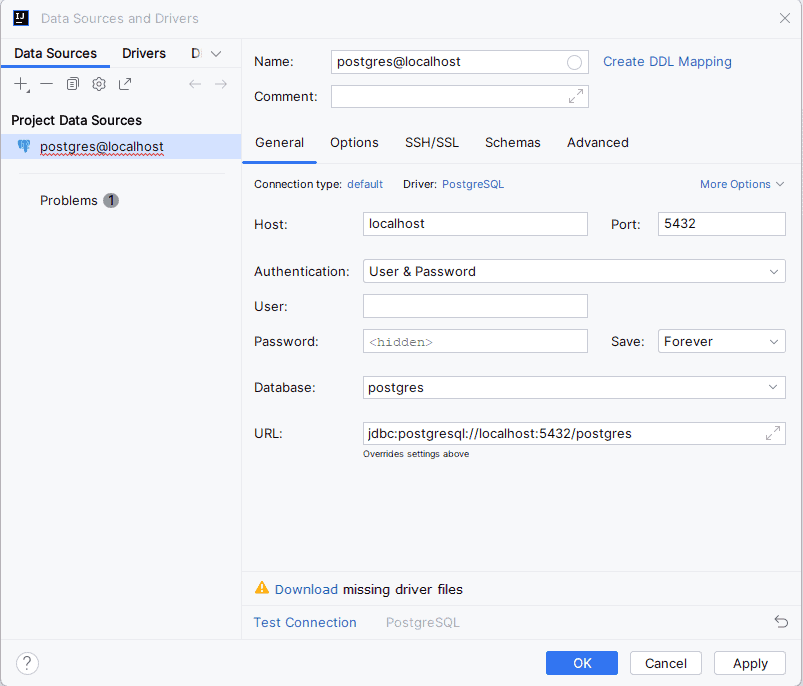
We need now to click on “Test Connection” to ensure that IntelliJ IDEA can successfully connect to the database. Once the connection is successfully established, the last step is to click on the “OK” button to save the data source configuration.
4. Configuring the Database Driver
In order to properly connect a database to IntelliJ IDEA, we typically need to download a JDBC driver. Luckily, in IntelliJ, we can simply click on the “Download” link next to the “Driver” field to download the appropriate database driver:
If the database driver is not bundled with IntelliJ IDEA, we’ll need to download it separately and configure the driver manually as follows:
First, we need to click on the “Drivers” tab of the “Data Sources and Drivers” window:
Second, let’s click on the “+” icon to add a new driver.
Finally, we can choose the appropriate driver we already downloaded for the database type and fill in the required details. The appropriate driver class information can usually be found in the documentation for our specific database: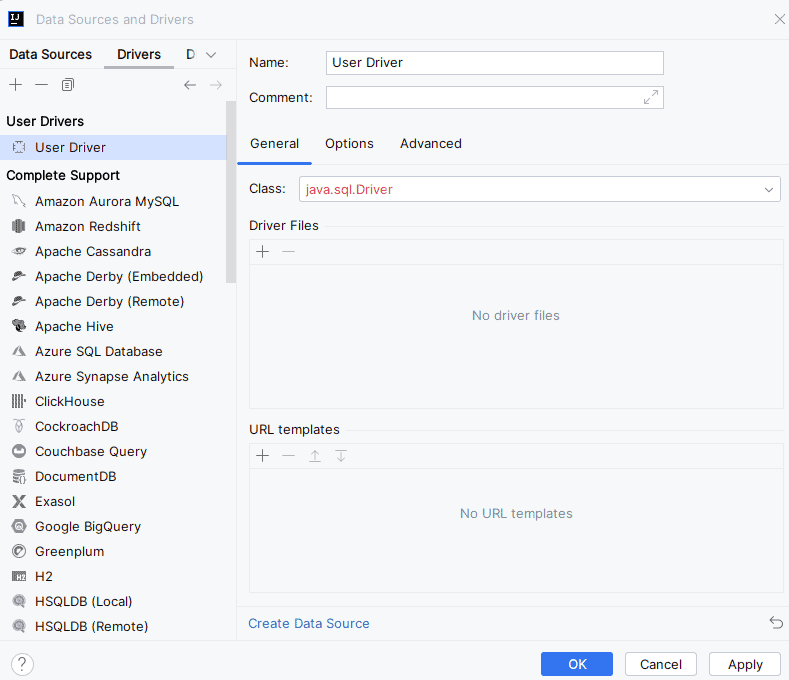
5. Connect and Explore the Database
At this step, we can find our newly added data source along with all created data sources in the Database tool window. Furthermore, a green dot appears next to the Data sources icons that have an active connection to a database.
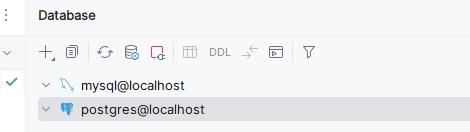
Once connected, we can explore the database structure, execute SQL queries, and perform other database-related tasks directly from IntelliJ IDEA.
6. Conclusion
In this tutorial, we learned how to connect to a database through IntelliJ data sources and drivers. Remember that the exact steps may vary slightly based on the database type and version, as well as the specific IntelliJ IDEA version.