1. Overview
GlassFish Server is an open-source application server for developing and deploying Java Enterprise applications. Also, it provides support for web containers, load balancing, an administrative console for configuration and management, etc.
In this tutorial, we’ll learn step-by-step the process for configuring GlassFish Server within Eclipse IDE.
2. GlassFish Server in Eclipse IDE
To configure the GlassFish server in Eclipse IDE, we must install the Eclipse IDE for Enterprise Java and Web Developers on our machine.
The Eclipse IDE for Enterprise Java Developers extends the functionality of the Standard Eclipse IDE. It has additional tools to bootstrap the Java EE/Jakarta EE application.
Eclipse IDE for Enterprise Java Developers, by default, is bundled with tools to set up popular web servers like Tomcat, WebSphere, etc. However, the GlassFish Tool isn’t installed by default.
The Oracle Enterprise Pack for Eclipse contains Eclipse GlassFish Tools. Let’s add the plugin repository “http://download.oracle.com/otn_software/oepe/12.2.1.8/oxygen/repository/dependencies/” to Eclipse IDE to install the GlassFish tool.
First, let’s click on the Help option in the menu bar and select Install New Software. Then, let’s add the link to the Oracle Enterprise Pack to install the GlassFish Tool:
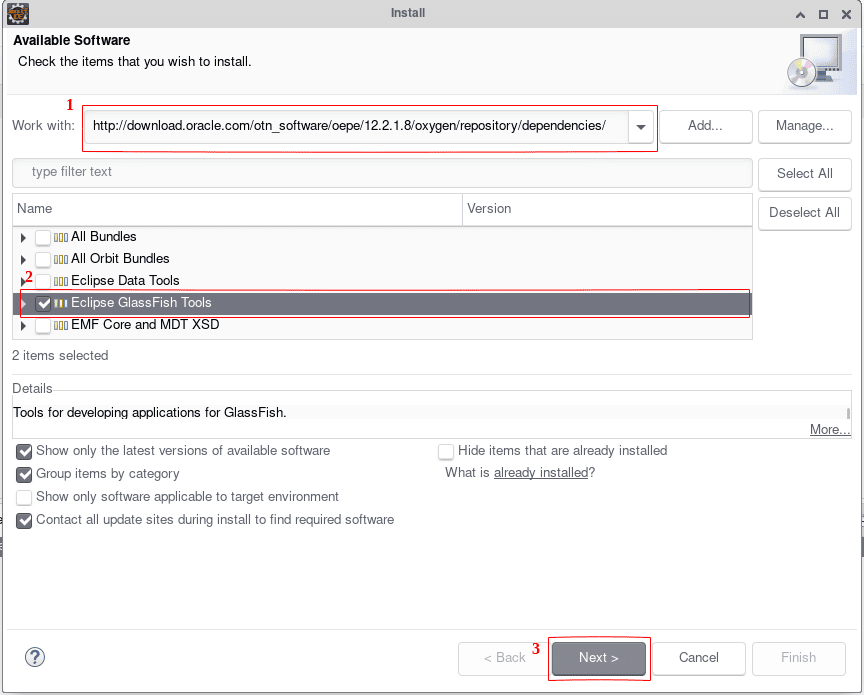
Here, we add the link to Oracle Enterprise Pack and press the Enter key. All the available software is loaded, but our interest is in the GlassFish tool. Hence, we select the GlassFish tool and click the Next button to install the tool.
After installation, let’s restart the Eclipse IDE and check the GlassFish tool. First, let’s click on the Windows option in the menu bar. Next, let’s click on the Show View option. Finally, let’s choose the Servers option: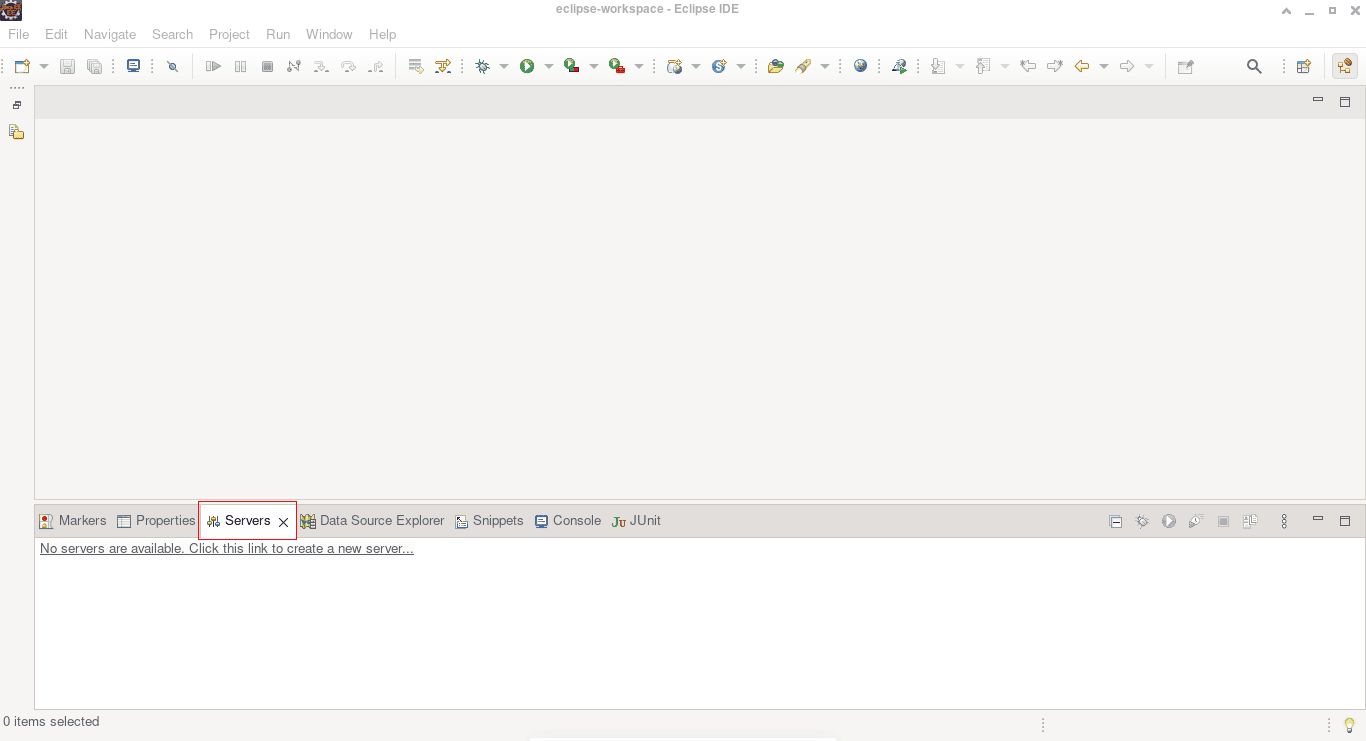
We now have Servers in our view. Let’s click on the link “Create New Server” to see the GlassFish Tool: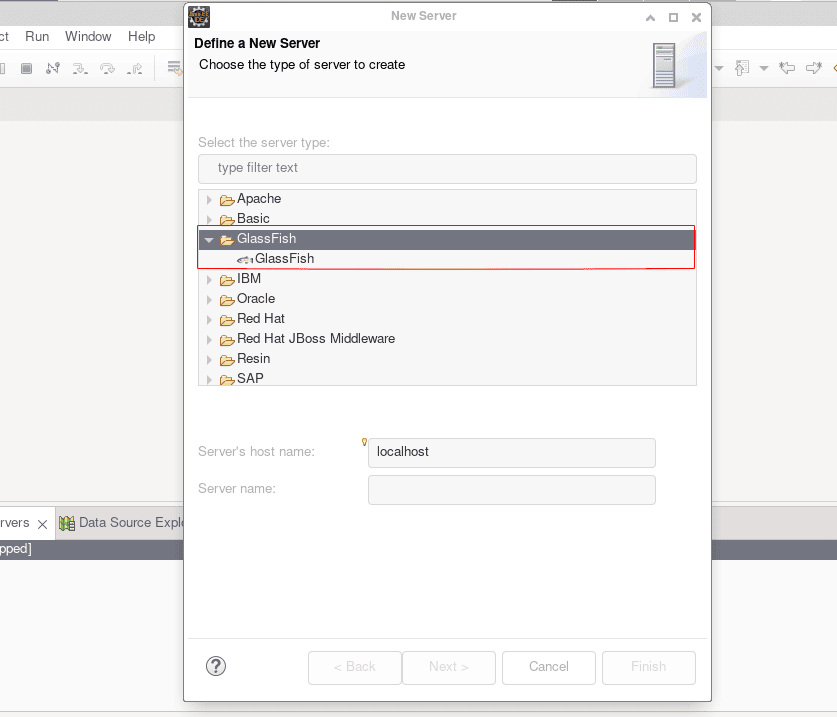
Notably, the current GlassFish tool in Eclipse IDE for Enterprise Java Developer supports only GlashFish versions 1, 3, and 5.
2.2. Setting up GlassFish Server
Furthermore, let’s download GlassFish 5.1 and extract it to a folder. Notably, GlassFish 5.1 provides support for only Java 8.
Next, let’s click on Create a new server in the Servers view. This opens the server tools, and let’s select GlassFish: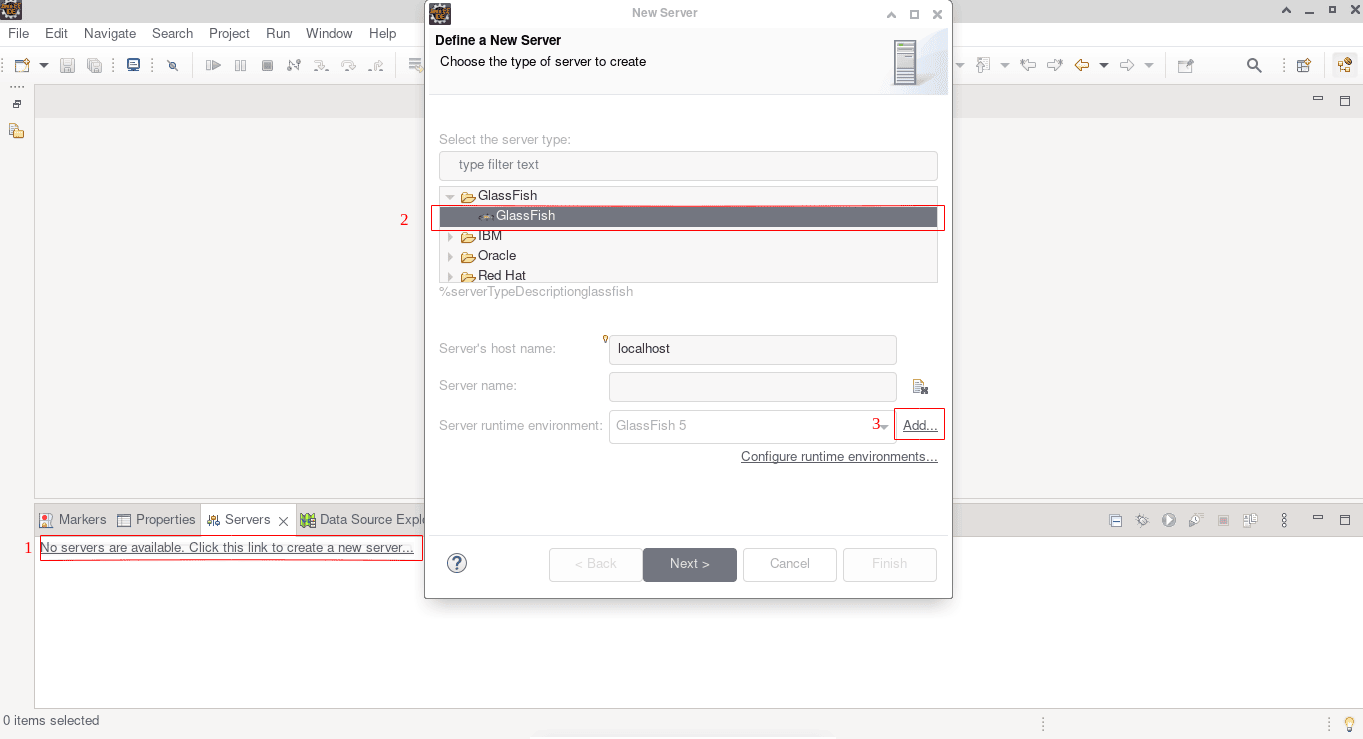
Here, we click on Create a new server and select GlassFish. Additionally, we click on the Add option to create the GlassFish runtime environment by specifying the path to the extracted GlassFish server.
Alternatively, we can right-click in the Servers view and select the “New” option to add a new server.
After clicking the Add option, let’s specify the path to the server and JDK:

In the above image, we define the path to the GlassFish server and the JDK. Finally, we click on the Finish button to add the GlassFish runtime properties.
Next, let’s go back to the New Server view and select the GlassFish server runtime we just created: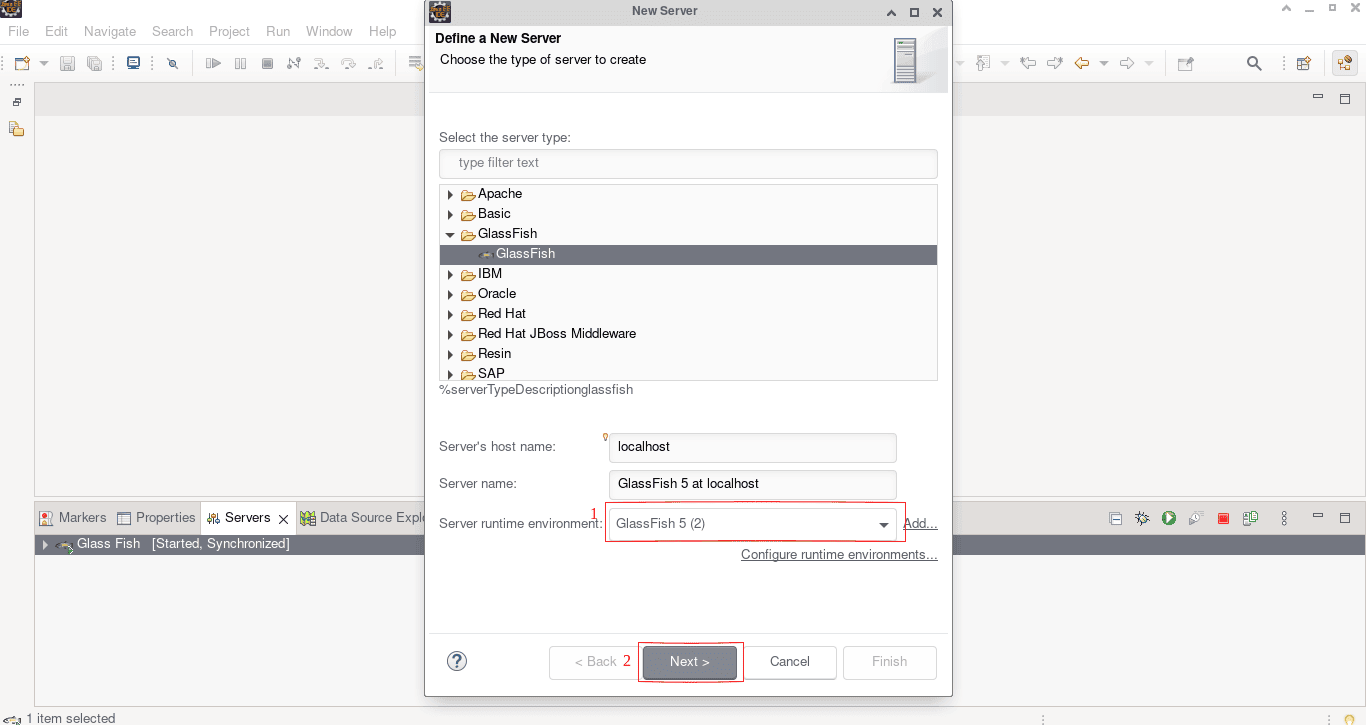
The Next button takes us to a page to define the server properties like the Admin password: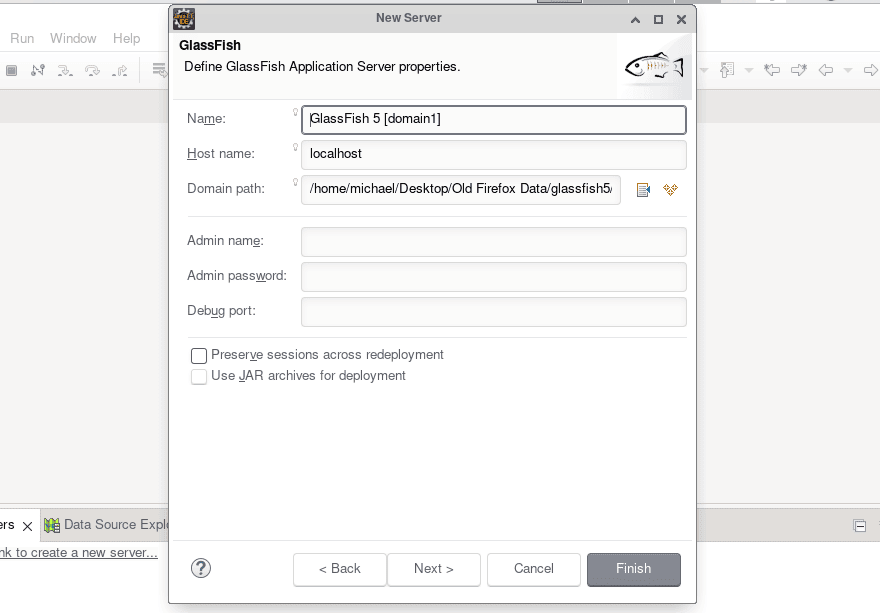
For simplicity, we didn’t define the admin username and password.
The Next button takes us to a page to add resources to the server: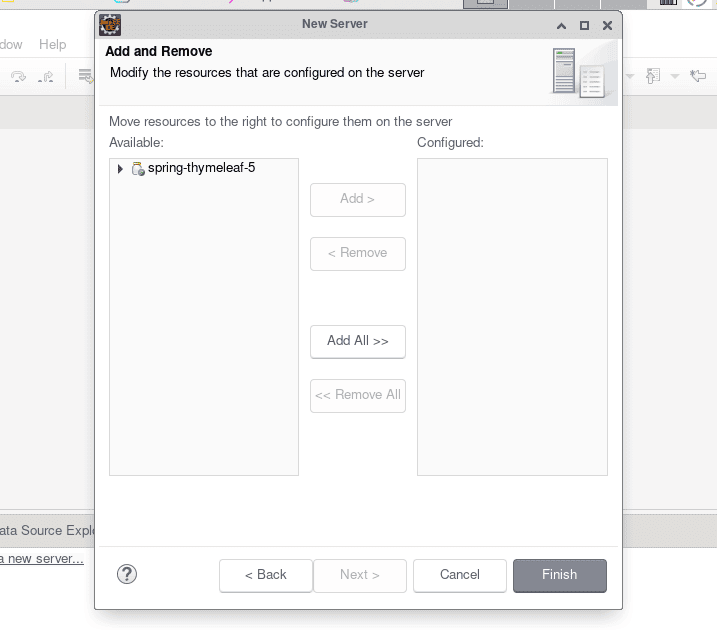
Our goal is to set up a server, so we leave the configured box empty and click Finish.
The server is now fully set up and can be assessed from the Servers view: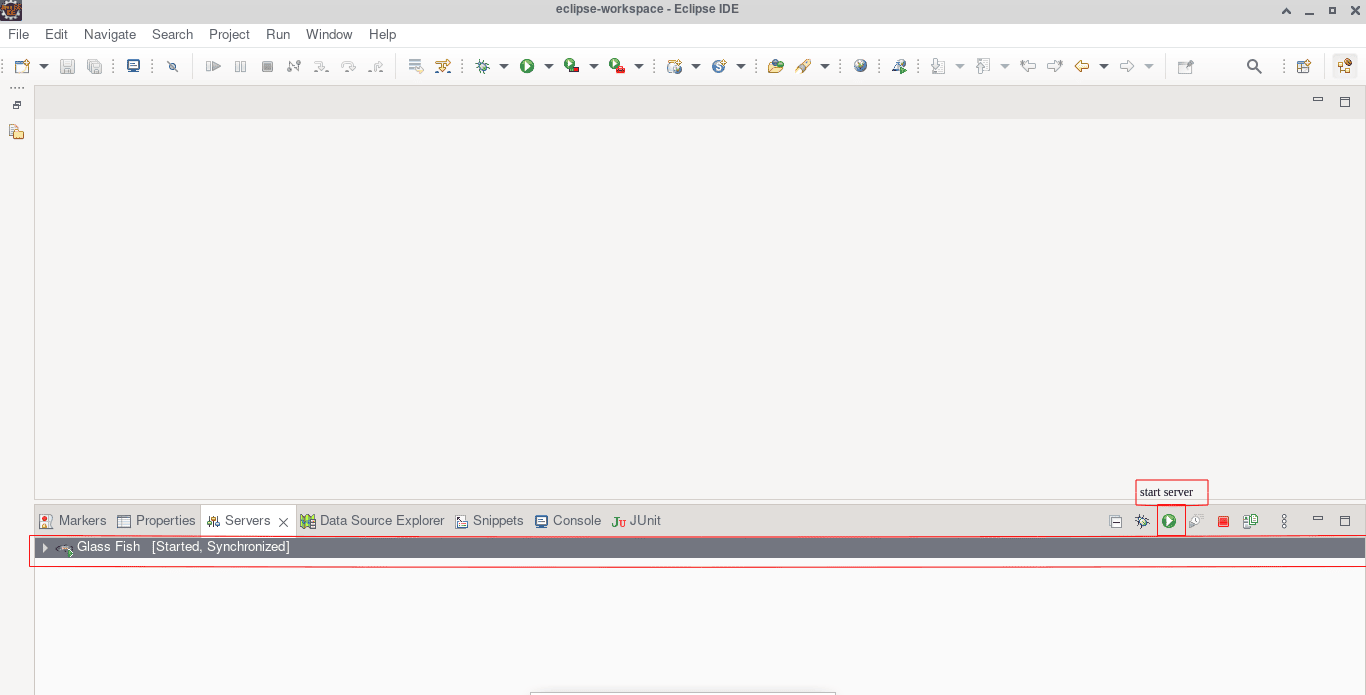
The server is now listed in the Servers view. Next, let’s select it and click on the start button to start the server.
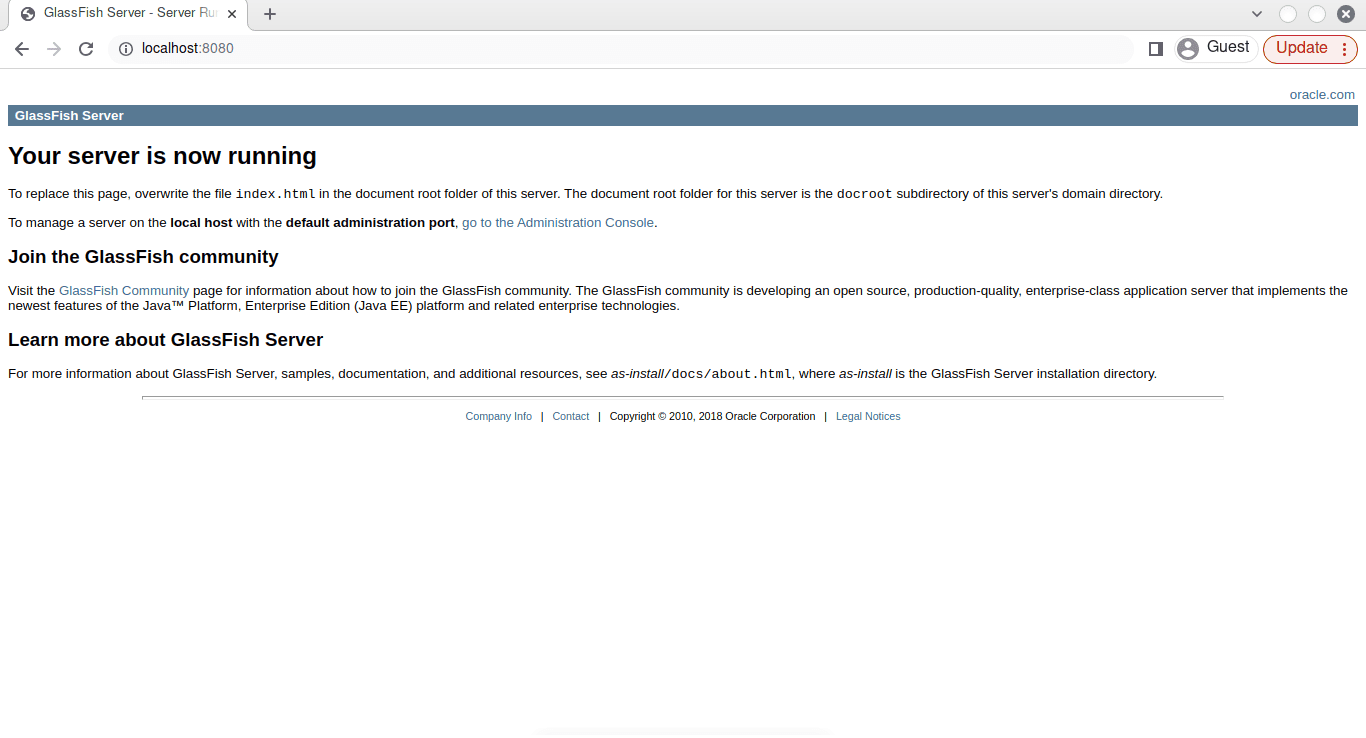
Finally, let’s open the URL “http://localhost:8080” in our browser to see the running server: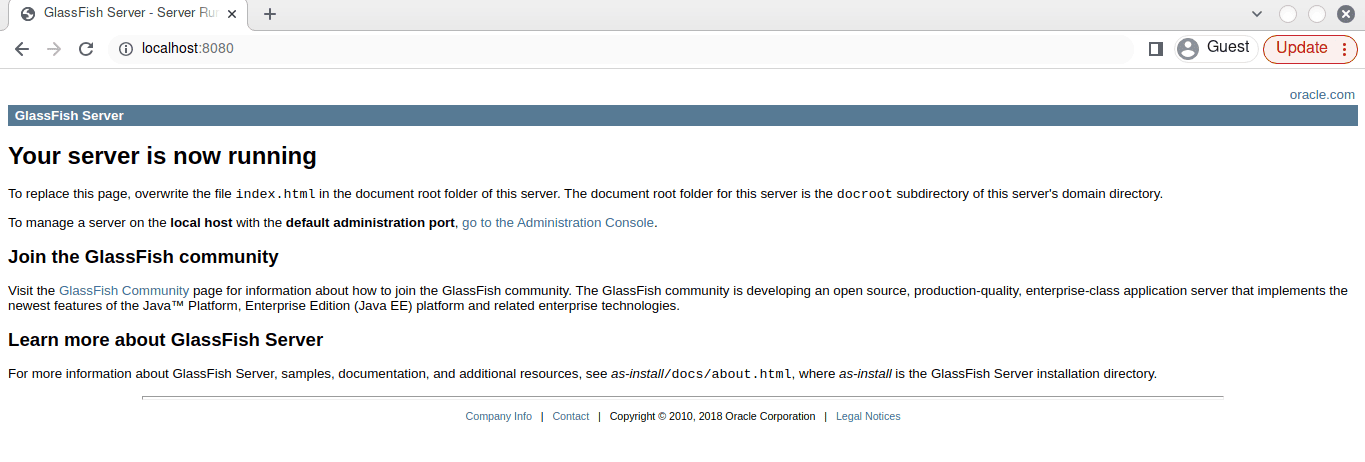
The above image shows the index page of the running server.
3. Conclusion
In this article, we learned how to setup a GlassFish server within the Eclipse IDE through a step-by-step guide.
Additionally, we saw how to install the Eclipse GlassFish tools via the Oracle Enterprise Pack.